 English
 Español
 عربي
عربي  Pусский
 Aug 12, 2026
Visit:173
Aug 12, 2026
Visit:173
Color variation from the beginning to the end of a single flexo roll is one of the most frequent sources of customer complaints. Unlike a sudden defect, this type of shift is rarely caused by a single catastrophic failure. Instead, it results from gradual, cumulative drifts in process parameters over the long run.
Think of it as a timeline: the press starts with perfect color, but as hours pass, small changes in ink chemistry, anilox condition, drying behaviour, and mechanical pressure slowly erode consistency. By the time the roll is finished, the ΔE value has crept beyond the acceptable tolerance. Understanding these time‑dependent mechanisms is the first step toward predictable, stable colour reproduction.
Flexo inks – especially solvent‑based and water‑based types – contain volatile components. As printing proceeds, solvent or water evaporates from the ink pan, causing the viscosity to rise steadily. Higher viscosity means less ink transfers through the anilox cells and onto the plate, resulting in lower colour density and a visibly lighter shade. This change is insidious because it happens gradually; the operator may not notice until the end‑of‑roll sample is compared with the start.
Install an automatic viscosity controller – these systems continuously measure viscosity and add make‑up solvent or water as needed, eliminating human reaction lag.
Manual checks at fixed intervals – if automation is not available, measure viscosity with a Zahn cup or similar every 30‑60 minutes and log the results. Add thinner proactively when the value rises above a setpoint.
Control ink temperature – warmer ink has lower viscosity but also accelerates evaporation. Keep the ink pan temperature stable to avoid compounding the drift.
The anilox roll is the heart of the flexo process; its engraved cells meter the exact ink volume to the plate. Over a long run, dried ink particles, paper dust, or coating residues can progressively clog these cells. As the effective cell volume decreases, the transferred ink film becomes thinner, and colour strength fades – often in a non‑linear way, accelerating toward the end of the roll.
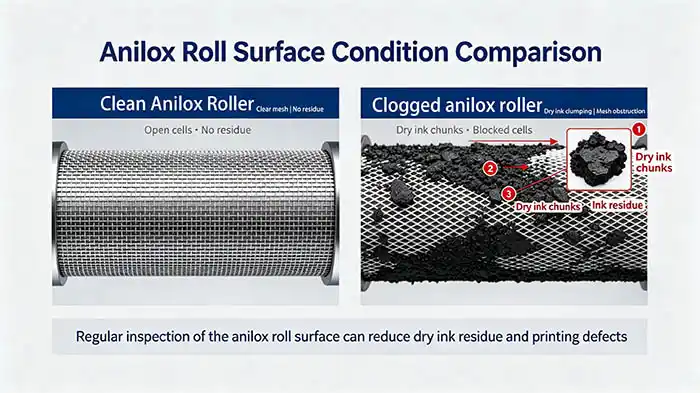
Schedule mid‑run cleaning – if the run exceeds several hours, plan a short stop to clean the anilox with a suitable chemical cleaner and a soft brush or ultrasonic system.
Use a circulating ink system – continuous circulation and agitation prevent ink from stagnating and drying inside the cells, reducing the rate of plugging.
Install a doctor blade with proper angle and pressure – a well‑set blade helps keep cells clean by scraping excess ink and debris from the surface.
Drying ovens or hot‑air systems are tuned to evaporate solvents at a certain rate. If the temperature drifts – due to thermocouple ageing, burner wear, or fluctuating exhaust flow – the drying profile changes. Too hot, and the ink film skins over, trapping solvents and altering the final colour. Too cool, and the ink remains wet, leading to set‑off and inconsistent laydown. Moreover, temperature variations affect ink rheology during transfer, further influencing colour density.
Regular calibration of temperature sensors and controllers – ensure each zone reads and controls accurately.
Monitor exhaust air flow – blocked filters or dampers can change heat distribution; clean or replace filters per schedule.
Verify that the dryer setting matches the substrate and ink type – different inks have optimal drying windows; adjust the profile before the run and avoid changing it during the run unless necessary.
Impression pressure – the force between the plate cylinder and the anilox, and between the plate and the substrate – determines how much ink is squeezed out and how well it transfers. Over time, mechanical components such as pneumatic cylinders, threads, or bearings can experience slow pressure drift. Air leaks, oil temperature changes, or vibration can cause the setting to shift by a few hundredths of a millimetre. This small change directly alters the ink film thickness and dot gain, producing a visible colour shift.
Periodically verify pressure settings with a feeler gauge or load cell – do this at the start of the run and again after every few thousand metres.
Use locking mechanisms or digital pressure indicators – these hold the setting more reliably than simple hand‑wheels.
Check the pneumatic supply for consistency – any fluctuation in plant air pressure will affect impression; install a regulator with a gauge at the press.
To truly master colour consistency, you need data. For every roll, take a sample and measure the colour difference (ΔE) against the customer‑approved standard. Plot these values against the production length. A rising trend often points to viscosity or plugging; a sudden step change may indicate a press intervention or substrate lot change.
Additionally, record viscosity, anilox cleanliness, dryer temperature, and impression pressure at the same intervals. Over time, this historical data will reveal which parameter is the dominant drift factor for each job type, allowing you to set proactive correction triggers.
If you notice visible colour drift mid‑run, do not panic. Follow this priority checklist:
Check viscosity first – measure it immediately. If it’s high, add thinner in small increments and re‑check after a few minutes. This is the easiest and fastest correction.
If viscosity is normal, examine the anilox roll – stop briefly and wipe a small area with a solvent‑soaked cloth. If that area prints darker than the rest, the roll is partially plugged. Perform a quick manual cleaning or, if possible, switch to a backup anilox.
Verify impression pressure – use a dial indicator or load cell to confirm the setting hasn’t drifted. Re‑adjust if necessary, but be aware that changing pressure also affects register, so proceed carefully.
Check dryer temperature – if the print looks dull or hazy, temperature may be too high. Lower it gradually and observe the result.
Remember: never adjust more than one variable at a time, or you will not know which correction worked.
Absolutely. Different batches of paper, film, or board can have varying surface energy, porosity, or absorbency. This changes how the ink wets and dries, affecting final colour even if press settings are identical. Always qualify incoming substrate batches and, if possible, run a short proof before the full production. Include substrate batch data in your trend records.
For a run lasting 4‑8 hours, check every 30 minutes for the first hour, then extend to every 60 minutes once the drift rate is established. For solvent‑based inks in hot environments, check every 30 minutes throughout. With automatic control, manual checks can be reduced to hourly verification of the controller’s accuracy.
Yes, significantly. Speed changes the dwell time between ink transfer, doctoring, and drying. Higher speed reduces ink film thickness because the anilox has less time to fill, and drying becomes less efficient. Always set the speed early in the run and keep it constant. If you must change speed, allow the system to stabilise for at least 5‑10 minutes before measuring colour.
Colour variation across repeat length is not an inevitable curse; it is a manageable consequence of time‑dependent parameter drift. By monitoring viscosity, anilox cleanliness, drying temperature, and impression pressure at regular intervals and building a trend chart for each job, you can detect and correct drifts before they lead to rejects. Prioritise viscosity checks during the run, keep your anilox clean, and never underestimate the slow creep of mechanical settings. With these practices, your rolls will deliver consistent colour from start to finish – and your customers will notice the difference.
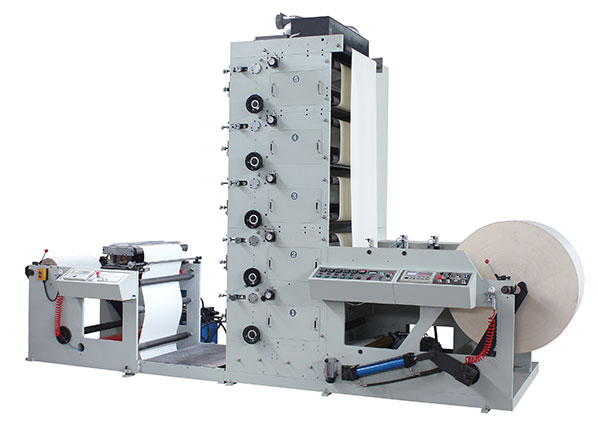
FLEXO PRINTING MACHINE
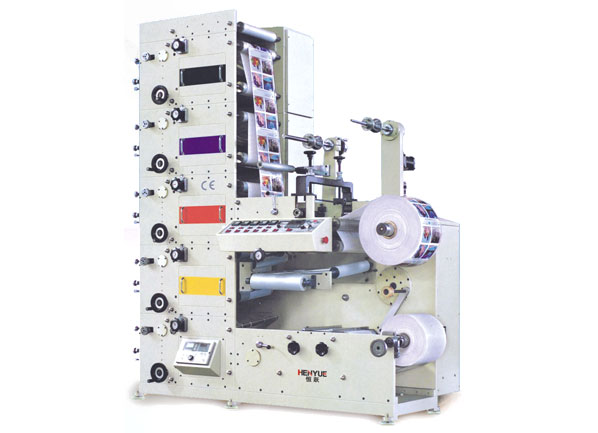
FLEXO PRINTING MACHINE
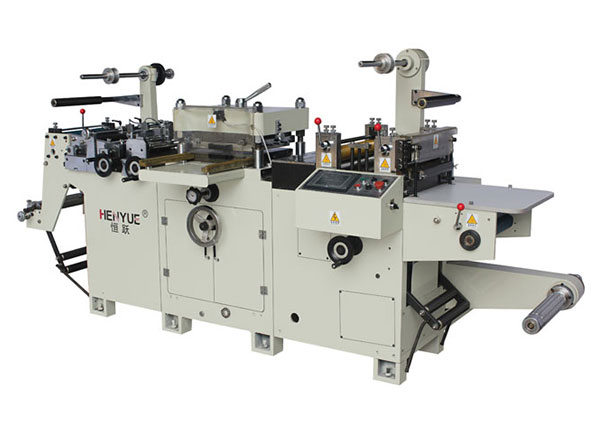
FLEXO PRINTING MACHINE
GET A QUOTE