 English
 Español
 عربي
عربي  Pусский
 Aug 05, 2026
Visit:120
Aug 05, 2026
Visit:120
Cracked photopolymer plates are one of the most frustrating—and costly—problems on a flexo press. A single cracked plate doesn't just ruin print quality; it shortens plate life, forces unplanned downtime, and drives up material waste. Plate cracks typically appear as streaks or missing image areas on the substrate, and once a crack forms, it tends to fill with ink, widen over time, and eventually spall—showing up on the substrate as tone value increases in highlight cells and random scumming in midtones.
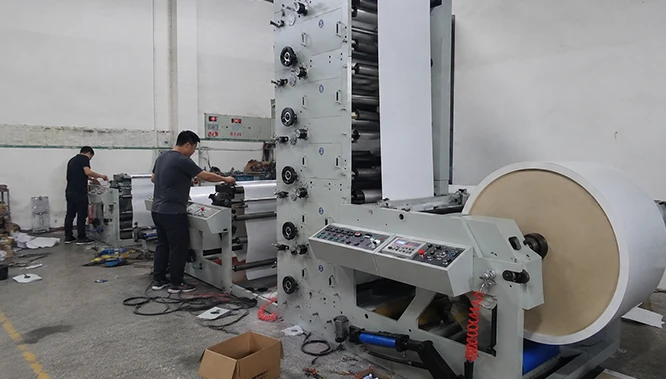
The good news? Most plate cracking is preventable. Below are four common scenarios where cracking occurs on flexo presses—and solutions for each one.
The problem: Too much impression pressure is the single most common cause of plate cracking. When the plate cylinder is over-impressed against the substrate or anilox roll, the photopolymer is subjected to mechanical stress beyond its elastic limits. Cracks form—often first along plate edges or in areas with fine details.
The solution: a flexographic printing machine is designed to be a low-pressure printing process. The ideal print pressure in flexography is referred to as kiss impression—just enough pressure to transfer ink from plate to substrate, and nothing more. As one industry expert puts it: "The impression between the anilox roll and the plate cylinder, and between the plate and substrate, should be as light as possible".
Here's how to achieve it:
Set anilox-to-plate impression first. Run the anilox cylinder into a kiss impression with the plate cylinder. The goal is uniform ink coverage across the plate—no more, no less.
Then set the plate-to-substrate impression slowly. Back off the impression until you're close to a kiss, then set it fully.
Use pressure test strips to verify that the impression is consistent across the full width of the plate. Uneven pressure often points to mechanical issues—check the print cylinder shaft for bends, and use a dial indicator to verify concentricity of the impression cylinder, anilox, and print cylinder.
Remember: If you're "hammering" the plate with too much pressure, you're putting too much ink onto the plate and stressing the photopolymer. A deeper impression also causes plates to deteriorate faster.
The problem: Uneven mounting tape application creates localized stress concentrations. Air bubbles under the tape, uneven foam compression, or misaligned plates all cause the plate to experience uneven forces during each revolution. Over time, these stress points become cracks.
The solution: Proper plate mounting is a precision operation—not something to rush.
Start with a clean surface. Any residue on the cylinder or sleeve—ink, oil, dust, or primer—undermines adhesion and causes bubbles or plate lift. Use 100% isopropyl alcohol for cleaning; it leaves no residue and evaporates quickly. Clean both sides of the photopolymer plate, especially the back, to remove contaminants that interfere with the tape's adhesive.
Choose the right tape. The correct plate-side adhesive prevents edge lift with thicker plates and tearing with thinner plates. Foam hardness matters too—hard printing plates may require softer tape, and vice versa. Air-release properties are essential for eliminating bubbles.
Apply tape evenly. Use a roller or applicator to apply tape in a controlled, line-by-line motion. Spiral the tape at a slight angle to avoid overlap. Press from center outward to eliminate air bubbles.
Trim edges cleanly. Use a sharp blade and trim at a 45° bevel angle to reduce tension on the plate edge. Avoid overhang—leave 1–2 mm from the sleeve edge.
Final inspection. Check for a flat, uniform surface with no ridges or bubbles before mounting the plate.
Pro tip: Never reuse mounting tape. Even over-impressing during setup can deform the tape, and old tape loses its cushioning and adhesive properties.
The problem: Dry ink crystals, paper dust, substrate fibers, or other debris on the impression cylinder create localized high points. When the plate cylinder rolls over these protrusions, the plate takes the full force of the impact at a single point—causing cracks, dents, or tears.
The solution: A clean impression cylinder is non-negotiable for plate longevity.
Clean the impression cylinder every shift. Remove ink and debris using a suitable cleaning solution and a soft cloth. Pay special attention to the area where the substrate enters the nip—this is where debris tends to accumulate.
Clean plates properly when removed. The first rule of thumb: clean your plates immediately when they are removed from the cylinder. Use a non-woven cloth dipped in a special cleaning agent, and pay attention to removing ink crystals remaining on the edges.
Use the right cleaning tools. Avoid shop rags, nylon-covered sponges, or stiff bristle brushes—these can damage fine plate elements. Use lint-free cloths and cleaners specifically designed for photopolymer plates.
Inspect before every run. A quick visual inspection of the impression cylinder surface can catch debris before it damages a plate. Use a magnifying glass to check for scratches or depressions on the lining surface.
The problem: Substrate splices—especially poorly made ones—create sudden thickness changes that the plate must accommodate. When a thick splice passes through the nip, the plate is momentarily over-compressed, often leading to cracks along the plate edge or in areas of fine detail. Similarly, uneven substrate thickness causes the plate to experience fluctuating impression forces.
The solution: While you can't eliminate splices entirely, you can minimize their impact.
Monitor material joints closely. Train operators to watch for splices approaching the nip and to be ready to respond.
Reduce press speed when splices pass through. Lowering speed reduces the dynamic impact force when a splice hits the nip.
Consider using buffer pads or softer cushioning tape in applications where splices are frequent. Softer tapes absorb more of the shock from thickness variations.
Work with your substrate supplier to improve splice quality. Smooth, tapered splices cause far less plate stress than abrupt, bulky ones.
For corrugated board applications, remember that softer plates conform better to rough substrates but are more prone to dot squash, while harder plates produce sharper dots but require higher impression pressure—a trade-off that must be managed carefully.
Beyond addressing specific scenarios, build these habits into your pressroom routine:
Keep a plate usage log. Track which color positions show cracking most frequently. If one station consistently produces cracked plates, investigate mechanical issues specific to that print unit—damaged gears, bent shafts, or worn bearings.
Calibrate pressure settings regularly. Don't rely on "feel." Use pressure gauges and test strips to verify that settings remain accurate over time.
Store plates properly. Photopolymer plates become brittle when stored in low humidity and are susceptible to cracking at plate edges during mounting. Store plates flat or curled to the PET side, in an air-conditioned room away from UV light and ozone. Ideal conditions: 18–25°C, 45–65% RH.
Use edge sealant on plate edges. Edge sealing tape or adhesive promoters help keep out ink and solvents while mechanically holding plate edges down.
Inspect plates before mounting. Look for any pre-existing damage, micro-cracks, or brittleness. Catching problems before the plate goes on press saves time and money.
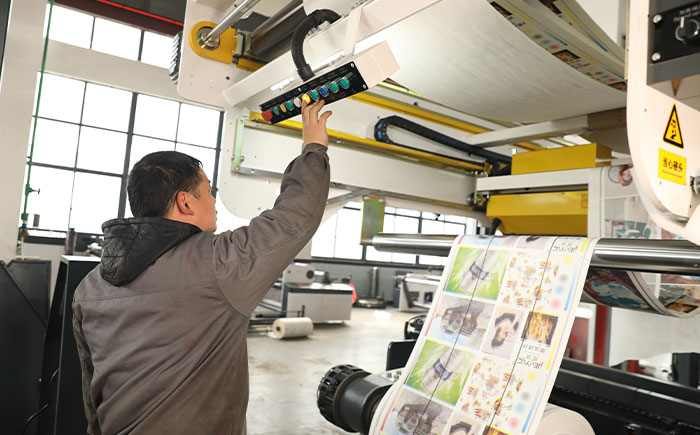
Yes. Plate hardness directly influences cracking susceptibility. Softer plates are more flexible and less prone to cracking under normal conditions. Harder plates are more rigid and can crack more easily if over-impressed. However, harder plates also produce sharper dots and better print quality—so the key is matching plate hardness to the application and then setting pressure accordingly. Also note that prolonged exposure to solvent inks can cause plate thinning and hardening over time, increasing cracking risk.
Not always. While mechanical stress is the most common cause, chemical and environmental factors also play a role. Exposure to UV light and ozone makes photopolymer plates increasingly rigid and brittle over time, eventually leading to cracking. Solvent exposure—particularly acetate levels above 20% in inks—can cause plate swelling, distortion, and eventual failure. Low humidity makes plates brittle. And aggressive cleaning solvents like ethyl acetate can damage photopolymer plates if used in high concentrations.
Every time you mount a new plate. Never reuse mounting tape. Even if the tape looks intact, its foam cushioning properties degrade after compression during a print run. Old tape may have compressed unevenly, developed micro-tears, or lost adhesion. Always use fresh tape to ensure consistent cushioning, uniform impression, and secure plate hold-down. For high-volume operations, consider automated mounting systems that apply tape with robotic precision—eliminating bubbles and ensuring perfect alignment every time.
For more detailed guidance on preventing plate cracking, contact our technical team or get a quote for a flexo printing machine.
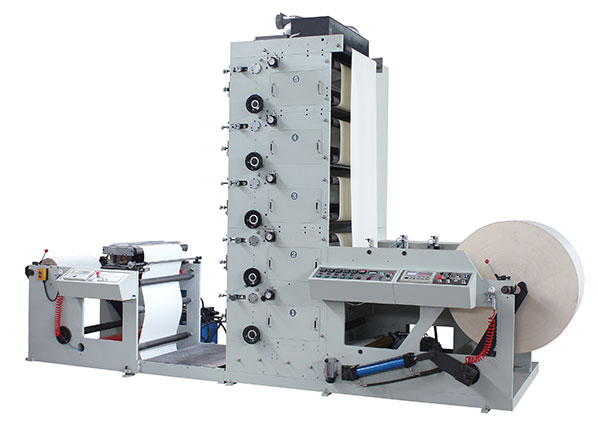
FLEXO PRINTING MACHINE
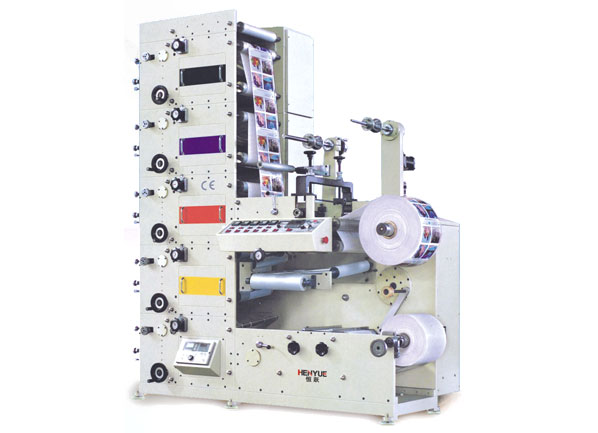
FLEXO PRINTING MACHINE
FLEXO PRINTING MACHINE
GET A QUOTE