Jun 22, 2026
Visit:33
Jun 22, 2026
Visit:33
You're running a long job, everything seems dialed in—then suddenly, your solids start looking patchy. Dots are skipping. The print has that dreaded “snowflake” or mottled appearance that tells you one thing: ink starvation.
Ink starvation occurs when the anilox roll fails to deliver sufficient ink volume to the printing plate. The anilox roll is often called the “heart” of the flexo press—its primary job is to deliver a precise, consistent film of ink. When that delivery falls short, print quality suffers immediately.
Below are the five most common causes of ink starvation on anilox roll flexo machines, along with specific fixes for each. Let's get your solids solid again.
Every anilox roll has a specific ink-carrying capacity, measured in BCM (Billion Cubic Microns per square inch). If the BCM is too low for the application, the roll simply cannot carry enough ink to satisfy the plate's demand. High-density solid areas are the first to show the symptoms—they appear weak, mottled, or full of pinholes.
Match the anilox volume to the application. Here is a practical reference guide:
| Application | Recommended LPI Range | Recommended BCM |
|---|---|---|
| Coating / Varnish | 100–300 | 6.0 – 12.0 |
| Solid Printing | 200–400 | 4.0 – 9.0 |
| Line Work / Text | 400–800 | 1.5 – 3.0 |
| Process / Screen Printing | 800–1200 | 0.8 – 2.0 |
Key rule: Solids need higher BCM. Fine screens and process work need lower BCM with higher LPI.
If your solids are starving on a 2.5 BCM roll, that roll is likely intended for line work or process printing. Swap to a roll in the 4.0–8.0 BCM range for solid coverage. For heavy solids or opaque whites on film, you may need even higher volumes—up to 12–20+ BCM.
Pro tip: Don't select anilox rolls based on LPI alone. Two rolls with the same line count can have very different BCM values. Always verify both specifications.
The doctor blade's job is to wipe excess ink from the surface of the anilox roll, leaving only the ink inside the cells. But when doctor blade pressure is too high, the blade digs too deep into the cells, physically scraping ink out of them. The result? The anilox delivers less ink than its BCM rating would suggest—essentially, you're starving your own print.
Excessive pressure also accelerates anilox wear and can cause blade buckling, which leads to inconsistent doctoring and even back doctoring issues.
Reduce doctor blade pressure to the minimum required for a clean wipe.
On pneumatic systems, lower the air pressure gradually until you see slight ink residue on the blade edge—then back up just a touch.
On mechanical systems, reduce the spring tension or mechanical stop pressure incrementally.
The blade should make light, even contact across the entire anilox surface. If the chamber is properly aligned, light pressure is all that's needed.
Optimal blade contact angle is typically between 28° and 35° to the tangent.
Warning: Many operators respond to density drops by increasing chamber pressure. This is a trap—it often masks the real problem and leads to blade buckling, seal leaks, and even more waste. The solution is lower pressure, not higher.
Ink needs to flow freely enough to fill every microscopic cell on the anilox roll. When viscosity is too high, the ink struggles to wet the cells completely. The result: partially filled cells and inconsistent ink transfer.
Thixotropy plays a role here too. Thixotropic inks shear-thin under mechanical agitation—they become less viscous when pumped or when the roll turns. But if the ink sits stagnant in the chamber or if recirculation is poor, viscosity remains high and cells don't fill properly.
Get the ink flowing:
Check and adjust viscosity with a viscometer. Add solvent or water to bring viscosity into the proper range.
Verify ink recirculation: Stagnant ink at the anilox leads to micro-settling and transient starvation. Make sure pumps are running and hoses aren't kinked or clogged.
Check ink temperature: Cold ink is thicker ink. Use a recirculation heater or chiller to stabilize temperature.
Watch for air entrainment: Air bubbles in the chamber prevent ink from wetting cells fully. Ensure return lines aren't pulling air and that the chamber is properly vented.
Quick check: If the ink in the pan looks thick, sluggish, or has a skin forming, viscosity is likely your culprit.
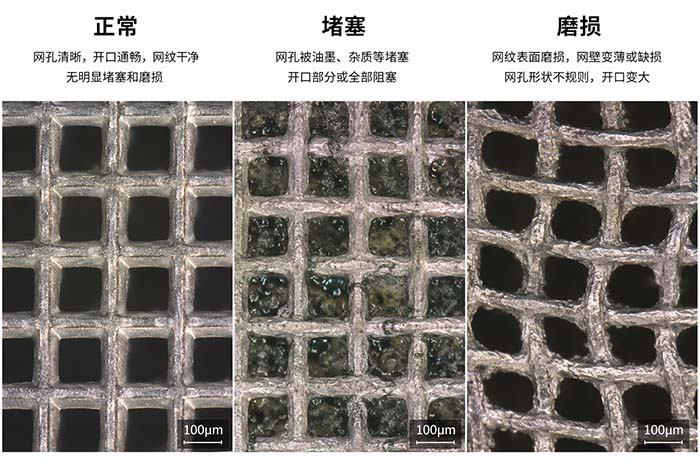
Over time, dried ink, resin, and debris accumulate inside the anilox cells. UV inks are particularly aggressive—once cured, they harden deep inside the cells and form stubborn “plugs”. Even a small percentage of plugged cells can dramatically change your ink color and density.
Plugged cells deliver reduced ink volumes, resulting in lower color densities and making it difficult to meet color targets. The starvation shows up as localized rather than uniform—typically as circumferential bands or patches where cells are blocked.
Clean the anilox roll thoroughly:
Daily cleaning: Wipe down immediately after each run while ink is still wet.
Weekly deep cleaning: Use chemical cleaners with appropriate brushes for ceramic rolls. Avoid steel wool or abrasive pads—they scratch the ceramic coating.
Ultrasonic cleaning: One of the most effective methods for restoring plugged cells. Follow the “90/10 Max 5” rule: 90% soaking time, 10% ultrasonics, maximum 5 minutes of ultrasonic runtime at a time.
Laser cleaning: Effective for high-line-count rolls.
Cleaning frequency depends on your ink system:
| Ink Type | Recommended Cleaning |
|---|---|
| UV inks | After every job (hardens fast) |
| Water-based / Solvent | Deep clean at least weekly |
| High-volume production | Daily wash-up + weekly deep clean |
Anilox rolls don't last forever. Over time, friction from doctor blades and abrasive ink particles wears down the ceramic cell walls. As cell walls wear, cell depth decreases and the roll loses its ability to hold the intended volume of ink.
The symptoms are insidious: a roll that used to print perfect solids gradually starts showing ink starvation. The problem is often mistaken for dirty cells or incorrect settings because the roll looks fine to the naked eye.
Wear can be uneven across the roll surface, leading to inconsistent BCM from one area to another. This creates frustrating print variations that are hard to diagnose.
Inspect and measure—don't guess:
Use a microscope or inspection system to examine cell condition. The AniCAM and similar 3D scanning microscopes can measure cell volume, depth, and screen count with high precision.
Check cell walls: If walls appear widened or rounded instead of sharp, wear is occurring.
Track BCM over time: Maintain a roll history log. If the measured BCM has dropped significantly below specification, the roll needs attention.
If wear exceeds acceptable limits, the roll must be re-engraved or replaced.
Prevention: Keep doctor blade pressure at minimum to reduce friction wear. Use proper blade materials and ensure the chamber is perfectly aligned to the anilox.
| What You See | Likely Cause | Priority Check |
|---|---|---|
| Only solids are weak; dots/screens look fine | BCM too low | Check BCM rating; swap to higher-volume roll |
| Uniform ink starvation across entire roll | Doctor blade pressure too high or viscosity too high | Reduce blade pressure; check and adjust viscosity |
| Localized patchy starvation | Plugged cells | Inspect under magnification; deep clean the roll |
| Gradual decline in density on an older roll | Anilox wear | Measure BCM with inspection system; check cell walls |
Clean the roll immediately after each run while ink is still wet
Inspect doctor blade condition and wipe pattern
Check that the anilox is rotating and ink is circulating during breaks
Visually inspect the anilox surface for any visible debris or damage
Perform a deep chemical or mechanical cleaning
Document the roll's condition and any changes observed
For UV inks, consider cleaning after every job
Perform an ultrasonic or laser deep cleaning
Inspect rolls under magnification to track wear progression
Update roll history logs with BCM measurements
A: It depends on your ink system. UV inks require cleaning after every job because cured UV residue hardens quickly. Water-based and solvent inks allow slightly longer intervals, but high-volume production presses need a deep clean at least weekly. At minimum, wipe down after every shift.
A: Technically yes, but it's not recommended. Switching between ink types increases the risk of contamination and cross-reaction. More importantly, UV inks and water-based inks have different viscosity and transfer characteristics. Dedicate specific rolls to specific ink systems for consistent results.
A: Professional inspection systems like the AniCAM use 3D scanning microscopy with resolution down to 0.25μm. For basic press-side inspection, a 50x–100x handheld microscope with a built-in light source is sufficient to spot plugged cells and visible wall wear. For accurate BCM measurement, you need a calibrated inspection system.
Ink starvation on anilox roll flexo machines almost always traces back to one of these five causes:
Wrong anilox volume for the application → Check BCM; swap rolls
Excessive doctor blade pressure → Reduce to minimum clean wipe
Poor ink flow / high viscosity → Adjust viscosity; verify recirculation
Plugged cells → Clean thoroughly (chemical + ultrasonic)
Worn anilox → Inspect; re-engrave or replace
The key to preventing ink starvation is consistent maintenance and measurement. Don't wait for print quality to suffer—establish a routine cleaning schedule, track your anilox inventory with BCM measurements, and keep doctor blade pressures as low as possible.
Need help diagnosing anilox wear? Professional wear assessment requires specialized inspection equipment. [Contact us] for anilox roll audits, BCM measurement services, and wear evaluation to keep your pressroom running at peak performance.
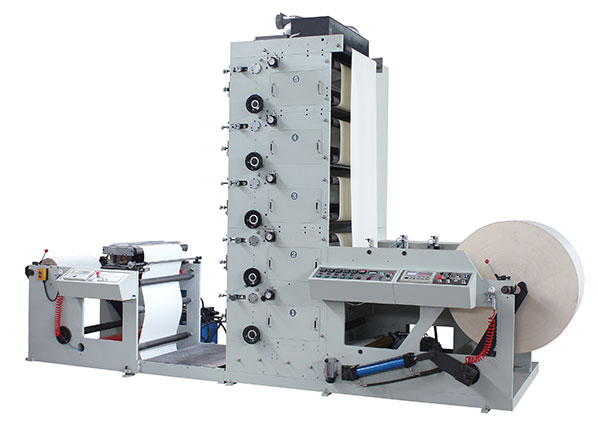
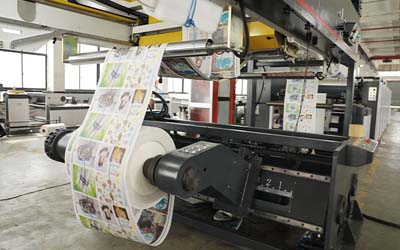
FLEXO PRINTING MACHINE
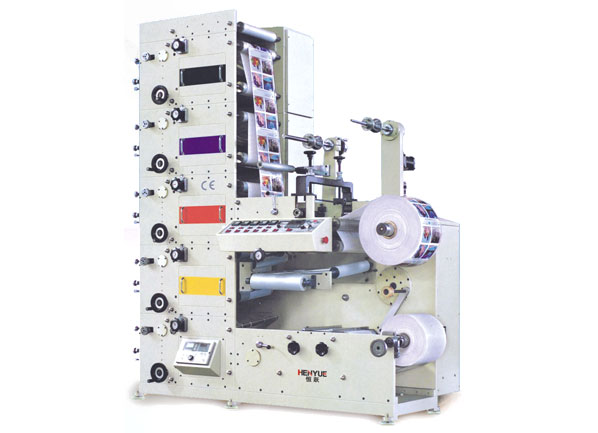
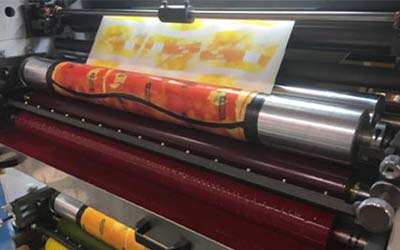
FLEXO PRINTING MACHINE
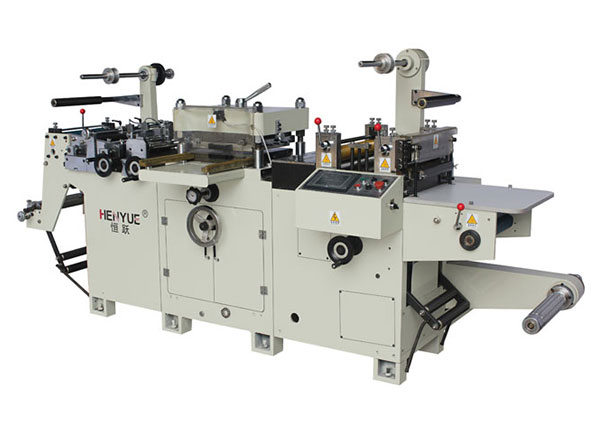
FLEXO PRINTING MACHINE
GET A QUOTE