 English
 Español
 عربي
عربي  Pусский
 Sep 10, 2026
Visit:261
Sep 10, 2026
Visit:261
In flexo printing, plate mounting tape is often the unsung hero—until print quality drops. On corrugated post‑print, choosing the right tape is even more critical than on film or label applications. Why? Because corrugated board is not flat.
Corrugated board consists of liner, fluting medium, and kraft liners. The surface shows visible or subtle undulations from the flutes underneath. During printing, this unevenness means that the pressure between the plate and board is inherently inconsistent. If your mounting tape is too hard or too thin, it cannot absorb these height differences—resulting in mottled solids, weak dots, and uneven ink density.
Mounting tape is not just a sticky layer that holds the plate to the cylinder. Its foam layer functions as a precision shock absorber: every time the plate contacts the board, the foam compresses; every time it lifts off, the foam recovers. This compression‑recovery cycle directly determines how uniformly ink transfers. Choose the right tape, and your print quality stays stable. Choose wrong, and problems pile up.
Below, we break down the selection process step by step, starting from the actual characteristics of corrugated board.
The structure of corrugated board means its surface is never perfectly smooth. Whether A‑flute, B‑flute, or E‑flute, the liner sits on a wavy medium, and the liner itself follows those micro‑undulations. In high‑speed printing, these tiny height variations are magnified—the plate experiences very different pressures when passing over flute tips versus flute valleys.
If you use a hard or incompressible mounting tape, the foam layer provides little or no cushion. The plate is over‑pressured at the flute tips and under‑pressured in the valleys. The result: ink is too heavy on the tips and too light in the valleys, creating the so‑called “washboard effect”.
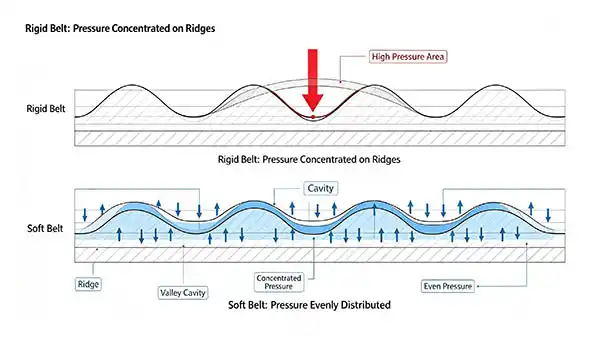
Corrugated post‑print demands cushioning foam tapes that use foam compression to absorb surface height differences. This allows the plate to make uniform pressure contact across both tips and valleys. That is why corrugated mounting tapes are generally thicker and softer than those used for film printing.
Hardness is the first variable discussed when selecting tape. Lower Shore A values mean softer tape and greater cushioning.
| Hardness Range | Best‑Suited Application |
|---|---|
| Soft | Rough boards, large solid areas, coarse screens |
| Medium | Mixed printing |
| Hard | Fine text, high‑line‑screen halftones, film printing |
For corrugated post‑print, soft or medium‑soft tapes are usually the first choice. Soft tapes conform better to surface irregularities and reduce pressure fluctuations. Harder tapes are better for solid coverage and high‑speed jobs where stable ink laydown is needed.
Practical hardness guidelines:
Rough board / large solids → choose soft tape for maximum cushion.
Fine text / high‑screen halftones → choose medium hardness to balance cushion and dot sharpness.
Caution: if your plate itself is soft, pairing it with an overly soft tape may reduce pressure transfer; if the plate is hard, you may need a thicker tape to cushion the rigid impact.
Corrugated mounting tapes typically range from 0.38 mm to 0.76 mm in thickness, with 0.50 mm being the most common standard.
| Thickness | Characteristic | Best Use |
|---|---|---|
| 0.38 mm | Limited cushion, good dot reproduction | Fine printing, high‑screen halftones |
| 0.50 mm | Balanced cushion, versatile | Most corrugated post‑print jobs |
| 0.64–0.76 mm | Maximum cushion | Rough boards, large solids |
The logic: rougher board and more pronounced flutes call for thicker tape. Thicker tapes offer more compression space to absorb height differences. However, too much thickness can lead to excessive dot gain and loss of fine‑detail sharpness.
Adhesion seems simple, but it is one of the most challenging aspects of tape design. A good tape must satisfy three conflicting demands:
During mounting: allow repositioning – it cannot stick instantly.
During printing: hold the plate firmly enough to prevent shifting or edge lifting, even at high speeds.
During demounting: peel off cleanly, leaving no adhesive residue and without damaging the plate.
Quality mounting tapes usually use different adhesive formulations on each side – the plate‑side adhesive and the cylinder‑side adhesive can be optimised separately. When selecting, pay close attention to the shear resistance of the tape, as this directly determines whether the plate will shift under high‑speed rotational forces.
If your board is coarse, with pronounced flutes, or if your job consists mainly of large solid colour blocks, choose a soft and thick tape. The soft, thick foam provides the largest cushioning margin, ensuring solid ink layers are uniform and dense, free from “pinholes” or missing patches.
Recommendation: soft grade, 0.38–0.50 mm thickness, suitable for coarse screens and full‑coverage solids.
If your job includes small type, fine lines, or high‑line‑screen halftones, choose a medium‑hardness, thinner tape. Overly soft tape will cause excessive dot gain and blur fine edges. Thin tape preserves dot sharpness.
This is the most common – and most challenging – scenario in corrugated printing: the same plate carries both large solids and fine halftones. A single‑hardness tape cannot optimally serve both.
Some manufacturers offer “mid‑range” tapes designed specifically for mixed printing, with hardness between soft and hard, providing a compromise. For example, certain models in the 3M Cushion‑Mount™ Plus series are engineered for jobs where solids and halftones are equally critical.
Place softer/thicker tape under solid areas and harder/thinner tape under halftone areas. This requires higher mounting precision but delivers the best possible result.
Some suppliers offer separate cushioning foam sheets that can be applied to the cylinder first as a base layer, with the plate mounted on top. This allows flexible combinations for different zones.
Before mounting, thoroughly clean the plate back and the cylinder/sleeve surface. Any dust, dried ink, or grease will reduce adhesion and can cause plate shifting or edge lifting during the run.
If available, use a mounting machine for precise positioning and uniform pressure. When hand‑mounting, start from the centre of the plate and work outward to avoid trapping air bubbles between the tape and the plate.
About bubbles: many modern tapes feature embossed release liners that allow air to escape during application. Use this feature to minimise bubble issues.
After mounting, let the plate rest for a period to allow the adhesive to fully “wet out” on both the plate back and the cylinder surface, achieving maximum bond strength. This step is especially important for long runs or high‑intensity jobs.
For plates mounted edge‑to‑edge, edge lifting is a common problem. If the job demands crisp edges, consider using edge‑sealing tape or an adhesion promoter at the plate edges.
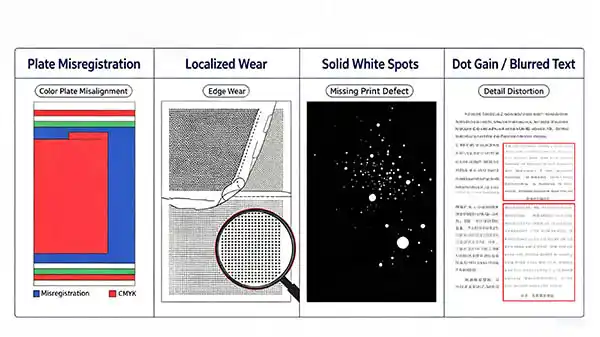
Possible causes:
Insufficient tape adhesion
Excessive printing pressure
Poor shear resistance at high speeds
Solutions: choose a tape with higher shear resistance, or reduce printing pressure.
Possible causes:
Uneven tape thickness
Localised over‑pressure
Solutions: check that the tape is applied smoothly and verify cylinder run‑out is within tolerance.
Possible causes:
Tape too hard – cannot compensate for board unevenness
Tape too thin
Solutions: switch to a softer or thicker tape.
Possible causes:
Tape too soft – excessive cushioning
Printing pressure too high
Solutions: choose a harder tape, or reduce printing pressure.
No. Film printing typically uses hard‑mount tapes – incompressible tapes with film or fabric carriers. These offer virtually no cushioning and cannot compensate for corrugated surface irregularities, leading to severe print defects. Corrugated post‑print requires foam‑based cushioning tapes.
This depends on the tape type and storage conditions. Generally, in a cool, dry, dark environment, mounted plates can be stored for several weeks to months. However, adhesion strength gradually decreases over time, especially in high‑temperature/high‑humidity conditions. Recommendations:
Short‑term: usually fine.
Long‑term: cover the plate face with protective film to prevent dust contamination.
Before re‑use: check plate edges for lifting and re‑mount if necessary.
Yes, significantly. Temperature impacts three key tape properties:
Adhesion: cold makes the adhesive stiff, reducing initial tack; heat softens it and may cause adhesive bleed.
Hardness: foam hardness changes with temperature – harder in winter, softer in summer – directly affecting print results.
Storage: store at a constant 15–25°C, away from direct sunlight.
In cold winter workshops, you may need a slightly softer tape to compensate for increased hardness; in hot summer conditions, a slightly harder tape may be better. Experienced press operators often adjust tape selection seasonally.
Selecting the right plate mounting tape for corrugated flexo printing ultimately comes down to finding the balance between cushioning and reproduction fidelity:
Rougher board → softer, thicker tape
Finer print → harder, thinner tape
Mixed solids + halftones → consider zoned mounting or combination tapes
Mounting tape is not just a consumable – it is a precision mechanical component of your printing system. Choose it wisely, and it works silently behind the scenes. Choose poorly, and it becomes the source of many headaches. We hope this guide helps you make a more informed decision at your next plate‑up.

Oct 22, 2026
Sep 22, 2026
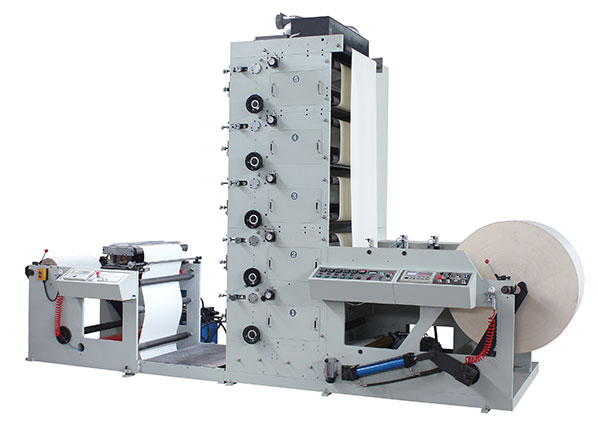
FLEXO PRINTING MACHINE
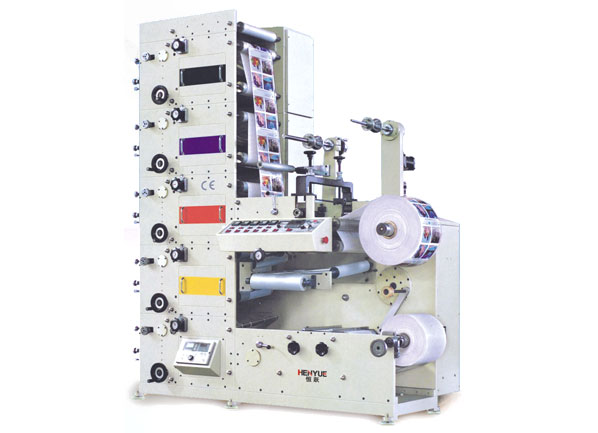
FLEXO PRINTING MACHINE
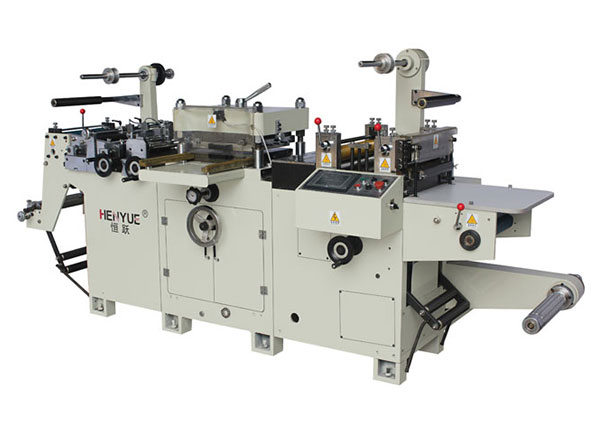
FLEXO PRINTING MACHINE
GET A QUOTE